Introduction
Learning to use a new tool comes with its hassle, but learning to use an air compressor isn’t all that difficult. If you haven't been able to complete a task because you do not know how to use an air compressor, then worry no more, this article will teach what you need to know.Also, check;
(Air Compressor Piping Diagrams And Tips)
Air compressors are used to power pneumatic tools used in different applications. They work by keeping compressed air in a steel tank and then releasing it in a controlled way to operate different tool attachments. They control tools ranging from air wrenches to grinding and sanding equipment to painting tools to air nailers.
An air compressor has an electrical motor that pumps air into the steel tank under pressure and maintains the pressure in order to power the tools which are connected to the tank by air hoses.
Using an air compressor is saves you money, instead of having multiple tools with their individual motors, you could just own an air compressor to power different inexpensive attachments. They also generate more power than most handheld electrical tools.
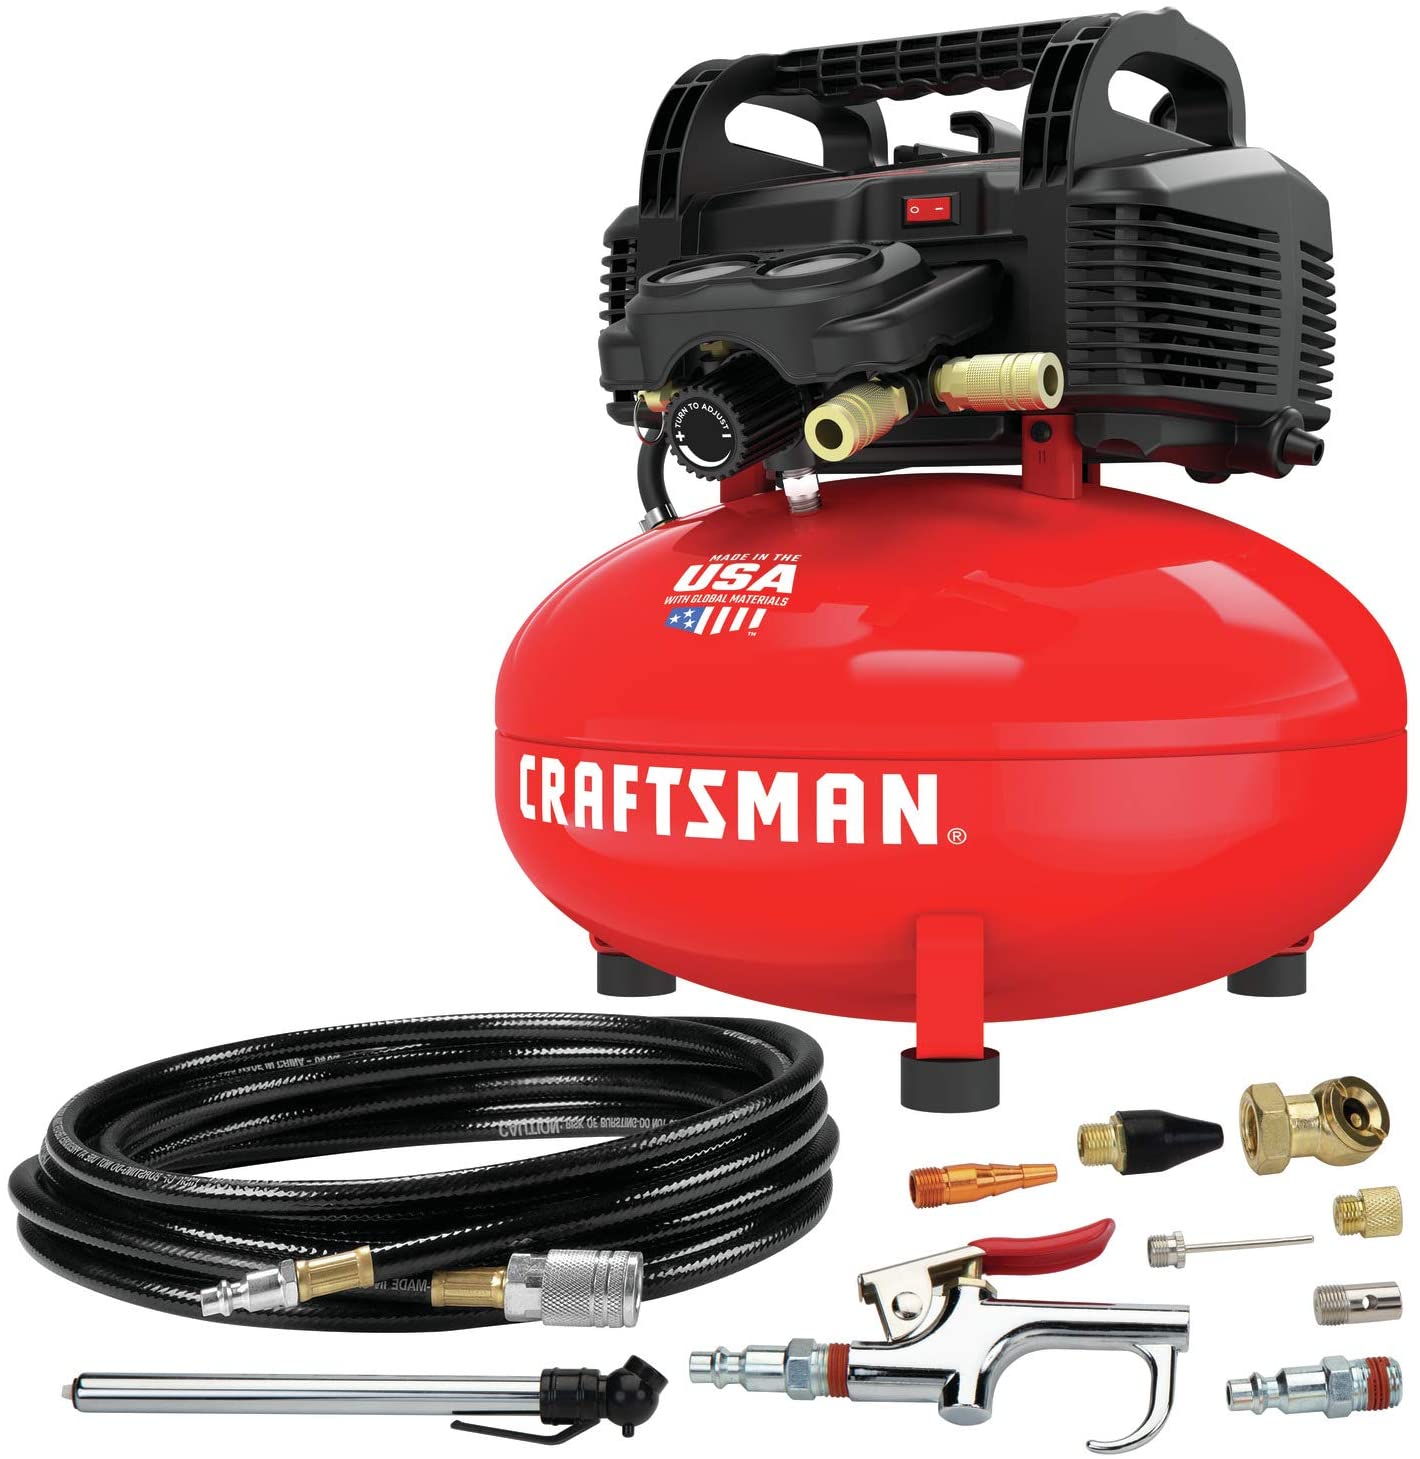
Air compressors are sold by the majority of manufacturers that include; DeWalt, Makita, Sears Craftsman, Porter-Cable, Stanley and Bostitch.
Air compressors come in different designs; some are piston styled, which requires oil for them to operate properly, and they are majorly high power models that are used to operate large tools. Air compressors for smaller jobs are usually diaphragm styled compressors, they do not require oil, but they have a rubber diaphragm seal. Many homeowners have become accustomed to the oil-less diaphragm compressors; they are very useful in operating small equipment.
Steps For Using An Air Compressor
Before you start using an air compressor, ensure that you have all the supplies you need for the task at hand and have a clean, clear and safe working space. Here are the steps to follow on how to use an air compressor;Machine Checks
Always ensure that you take a few minutes to check your air compressor.Check the dials and make sure the hose is properly connected. They may seem like obvious things to do, but a lot of people start working without checking if everything is okay, and it may lead to accidents. If the hose is not properly secured, it will cause the air pressure to lower, which in turn causes damage to the hose and air compressor.
Ensure that the power switch is turned off when not in use, if not, it could cause damages to both you and your machine if it is left plugged to an energy source. When using your machine, make sure it is placed on a flat surface to prevent it from falling over.
Prepare and Power Up
The preparation of your air compressor will depend on the type of air compressor you have. There are three types of air compressors; gas, oil and electric.The electric air compressor has to be plugged into a socket and then turned on. The oil compressors need you to check the oil level and top up if it is low before you can turn it on. If the oil is not at the proper level, the compressor will not work properly because the seals will not be tight enough, and this will cause the compressor to overheat.
A gas-powered air compressor needs you to check the gasoline level and increase it if low.
No matter the type of air compressor you have, ensure to inspect it, prepare it and then power it up.
Fill The Air Tank
Ensure that the Crain valve at the bottom is closed, you can do this by tightening it with an adjustable wrench. Turn on the power switch and allow the compressor to run for some time. Keep an eye on the in-built air gauge and ensure that the compressor shuts off automatically when the air pressure reaches 100 to 115 psi.The tanks pressure capacity will vary depending on the model.
Adjust The Air Pressure
Once the machine is on, and the air pressure has built up, then alter the air pressure to suit the pressure required for the task at hand. As the tank starts to fill with air pressure, you will be able to monitor it with its gauge. If you own a small compressor, you will find two gauges. The first one shows the air pressure inside the tank and the second one shows the pressure when operating the hose.They are known as the Proper Air Pressure (PSI) and Air Flow (CFM).
Adjust the controller to meet the maximum air pressure that your tool requires; this is done by turning the air control valve until the air pressure matches the requirement for the tool. Ensure that you know the exact pressure that your tool requires. Every tool is slightly different.
Connect Additional Attachments
After you have gone through every other step, you can begin your project.Do so by closing the gauge. If you have an attachment for the hose, you can attach it to the tip. Make sure it is securely attached to prevent damage to you or the machine.
Shut Down And Unplug The Compressor
When you are done with your task, ensure that you turn off the pressure gauge and shut down the air compressor. When the pressure and the compressor has been shut off, you can then unplug the compressor from its power source.Ensure that you release and air that is left in the tank and check the pressure relief valve to know if there is still air pressure in the tank. To release all the air keep the valve open.
Get Rid Of Moisture After Use
Remove the moisture from the air tank by draining it, go through your user manual on recommendations. You can drain the moisture by loosening and removing the drain valve and when all the water has drained out, replace the valve and tighten it.Make sure that you store the air compressor in a dry area to prevent damage and erosion.